

Installing LED Downlights and What’s Important
Installing LED downlights is one of the common services we offer. If you are looking at having some LED downlights installed or replace some old halogen downlights to new LED fittings we can definitely help.
Below ill go over our systems and how we approach installing LED downlights. If you would like to read more about LED dowQnlights I put together this post on 7 things you should know about LED Downlights. If you’re interested on having LED Downlights installed keep reading as ill go over our systems in more detail.
Before I go over our systems there are two things you should know, in our residential lighting installations I only use LED downlights that can be completely covered by ceiling insulation. They must have a minimum rating of IC – F if you would like to supply your own fittings. I can’t stress enough how important that is, otherwise you can’t cover your lights completely with insulation and are missing out on the biggest benefit. I am happy to advise which ones to install free of charge as this makes a huge difference not only to the life of the light but also to the safety.
(Email me anytime [email protected] I am a fully licenced electrician and happy to answer any electrical questions)
The second important piece of information
We only use lights that are locally sourced, I also especially like to use LED downlights with 7year warranties.
Ording locally has worked best for me as if there is any problem I have a local contact that can help not only myself but also the client. If you are looking at lights with 1 to 3 year warranties it’s not enough and they are probably not going to last even close to 10 years.
I stress this point as I am now replacing faulty downlights in peoples homes that is costing them money when the lights should have never been installed in the first place. LED downlight are designed to last 10 years in residential installations and i’ve replaced some that have only been up for 24 months.
That should not happen and is why I stress to buy from reputable sources, avoid the temptation to go to ebay as they may not even reach Australian standards.
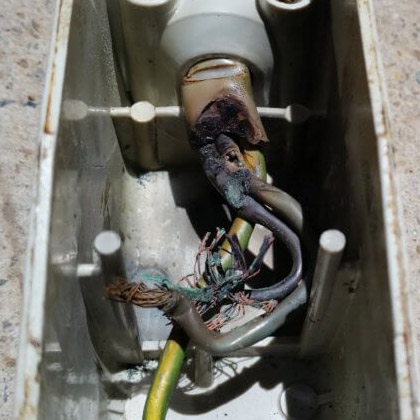
Below is an image of a light that does not reach Australian standards and should never have been installed. You want something that once installed you don’t have to think about and just works. That’s what we are trying to provide in our service. There are brands I do not use as I have been extremely disappointed in the quality of their product.
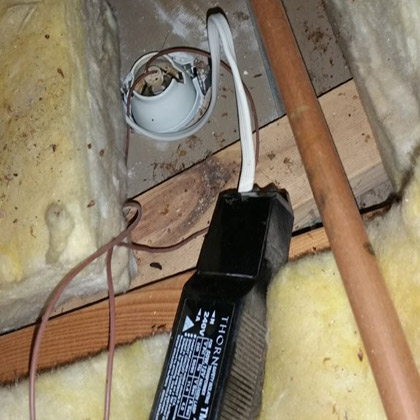
Those are two of the most important pieces of information in regards to buying LED downlights.
Now let’s quickly go over our installation system.
- Offering an extremely high standard of service is what I offer and will continue to offer. Setting out a completely custom LED lighting plan to light the space exactly to your needs is our goal.
I have been operating on my own since 2013 and have been very fortunate to have built up a trustworthy name in Canberra over that time. Feel free to read some local Canberra reviews on my Google Business Page here. - I really enjoy working with each client to customise the lighting design and make sure its a smooth enjoyable process.
- It’s probably here where I should say if you are looking for an electrician who’s fast and cheap, in and out, im not the right fit for you.
- Readers Rating
- Rated 4.8 stars
4.8 / 5 ( Reviewers) - Spectacular
- Your Rating


Lets go over what you can expect as an LED Solution Client.
There is a wait time on jobs as we are a small team, it’s generally on average only around 3 to 4 weeks and for smaller jobs I normally can get them in earlier.
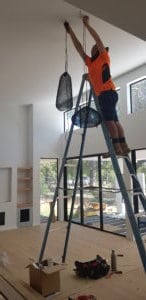
Once we arrive on site before we mark out anything on the ceiling ill walk around with you and go over the lighting layout. When everything is confirmed we’ll set up drop sheets where we will be working. This protects your floor and also helps catch any dust.
For new LED downlight installations i’ll start measuring out the best spread and locations. Sometimes the best layout doesn’t work as ceiling trusses get in the way, they can not be cut and the lights must be moved to work around them. Once we know all structural timber in the ceiling has been avoided we will start cutting out holes.
A self leveling laser is used to throw a line across the ceiling. This laser allows us to get a straight line and this is extremely important when installing downlights. You want to have your lines perfectly straight and everything should be symmetrical where possible. Scattering downlights across the ceiling might be quick but it should be avoided. Nice straight lines along with a well thought out design adds a lot of impact to the space. Once this is done we start cutting out.
We have a special attachment on our drills that capture 90% of dust. This makes a huge difference when cutting a lot of holes and makes cleaning up easier we (vacuum at the end of the job). We drill out all holes and get ready to pull in the new cabling.
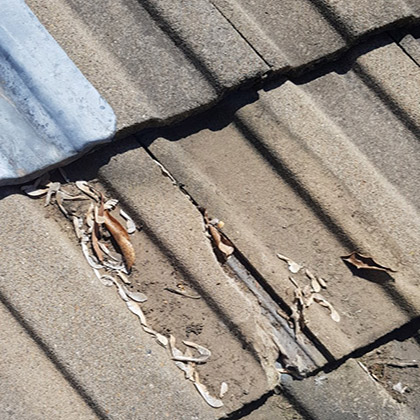
In most cases there is a light already in the room and we use this old cabling as long as its up to standard. We then run new cabling to each light and this can require access into the roof space. We have a lot of experience in ceilings and as long as there is enough room to crawl we use this option. In tighter spots we may need to get access from on top of the room. If we do go on the room we will have a good look for you and point out ant damaged tiles. In past jobs any we have found we will silicon them up for you while we are there. It doesn’t take long and broken or cracked tiles are a ceilings nemesis, downlights don’t perform well in water either.
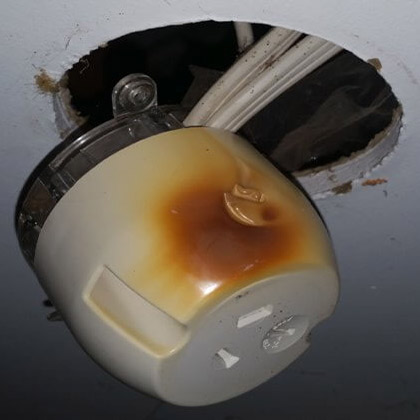
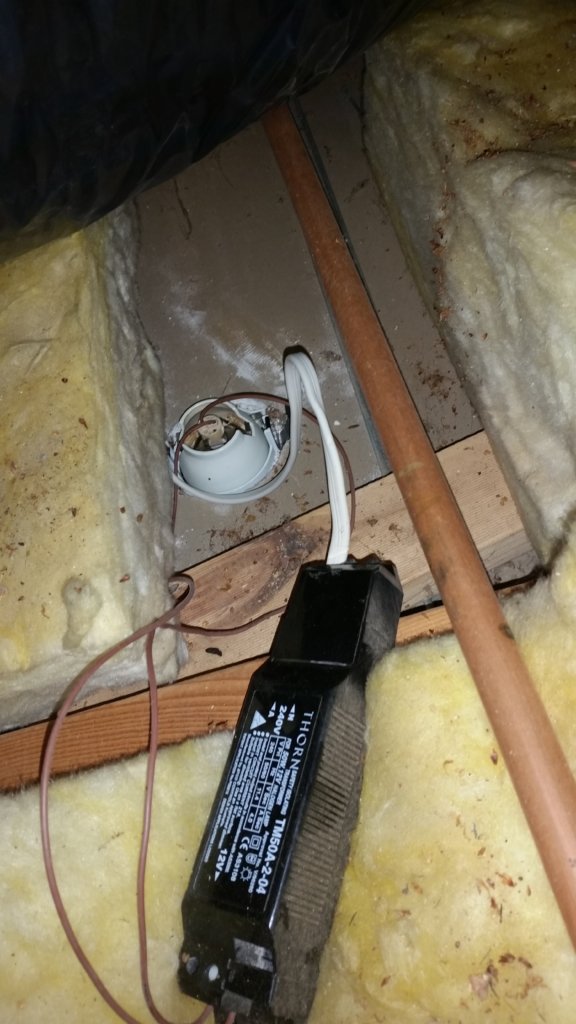
Once all the cabling has been pulled in and attached to the correct switches we start fitting off plug bases. Plug bases should be a requirement as when they are not used you will not be able to remove the light easily yourself. I will attach an image of a plug base below. It allows each LED downlight to be plugged into its own individual point. If you ever need to remove the light later for any reason you can simply unplug the downlight quickly and easily, no electrician required. If its hardwired this becomes an issue and I always recommend if anyone is having downlights installed they use flex and plugs.

When all the cabling has been completed and all the plug bases installed the final part is installing the downlights. This is the easiest part of the job and doesn’t take much time to do. We do make sure we have white gloves on to assure we don’t leave any marks on the ceiling. We use white gloves when removing old downlights as you can make a mess of a ceiling if you don’t. I recommend asking anyone working around your ceiling to wear gloves as dark fingerprints don’t come off from a nice white ceiling.
LED Downlight Installers
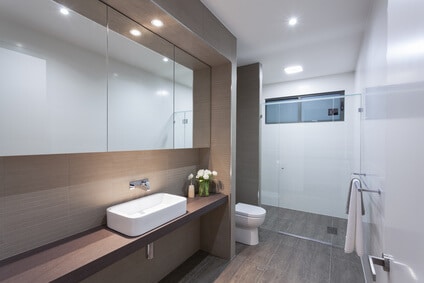
Once the lights are installed we will turn them on and test that everything is working as planned. This is the time we would also install dimmers to rooms that will benefit from some lighting control. LED downlights in bedrooms are great to dim as having lower light before bed helps prevent the disruption of sleep. Dining rooms are another great room to dim along with lounge rooms. Another room that is great to have bright at times but not at others is bathrooms. LED lights in bathrooms are fantastic at lighting the whole space but when you want to have a late night bath or shower a dimmer to lower the light makes a big difference. It’s a… nice to have, not a must have, as turning the light off and burning a candle gives a similar effect actually I would say much nicer.

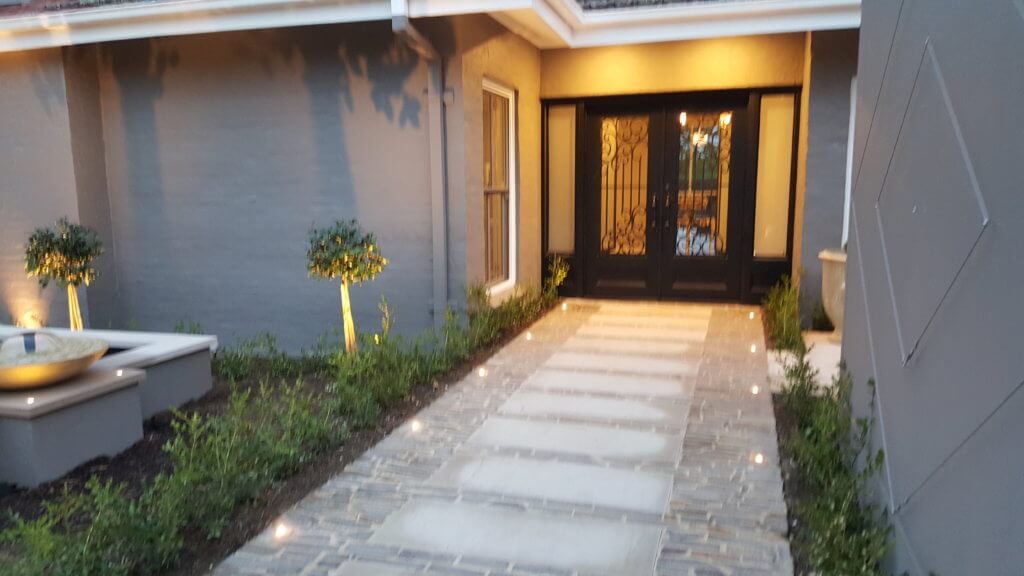
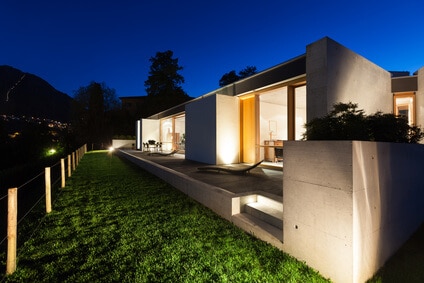
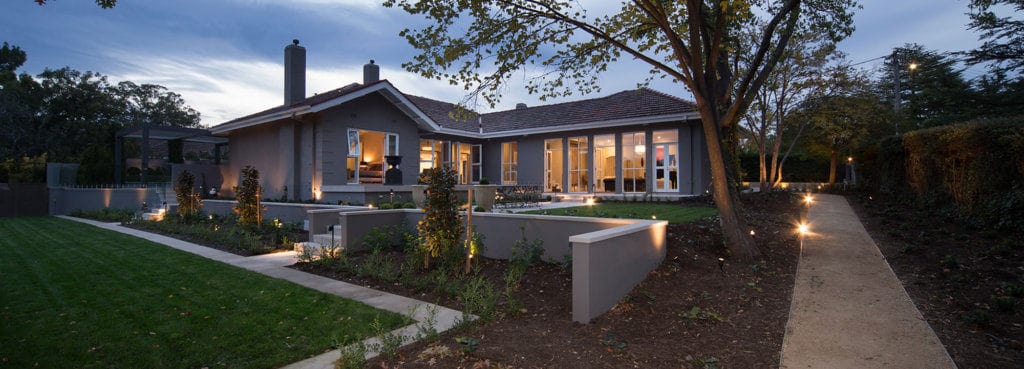
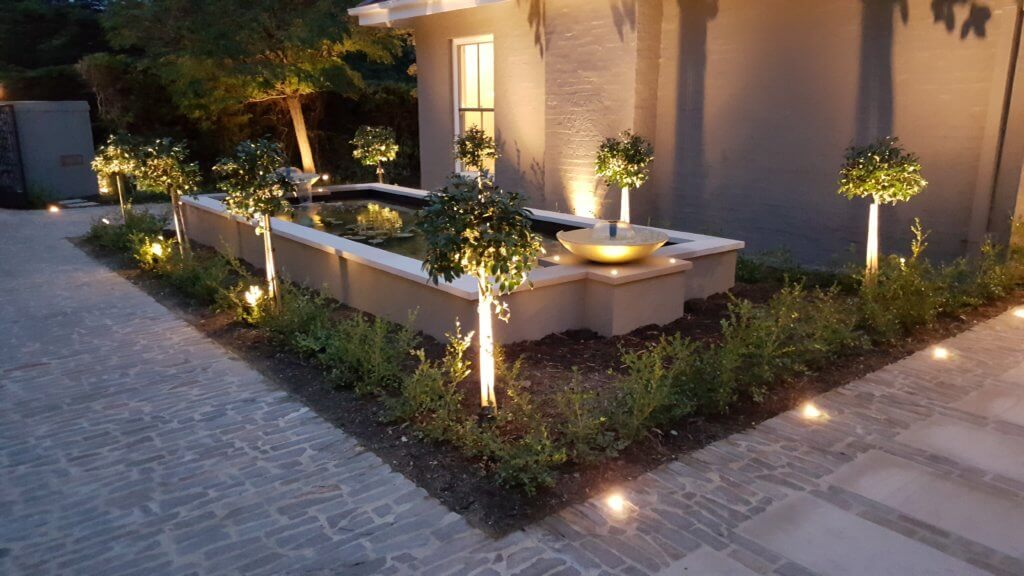
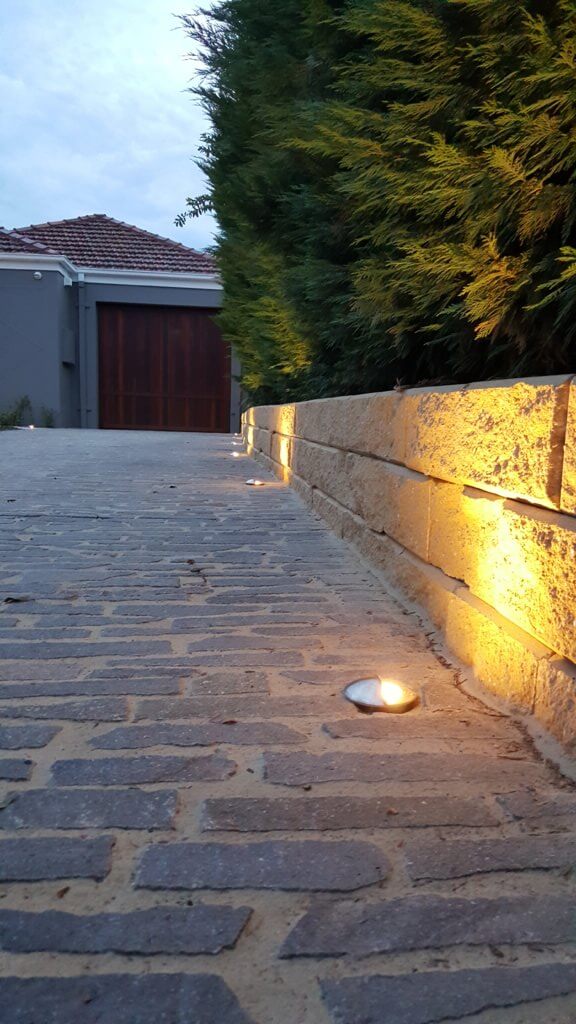
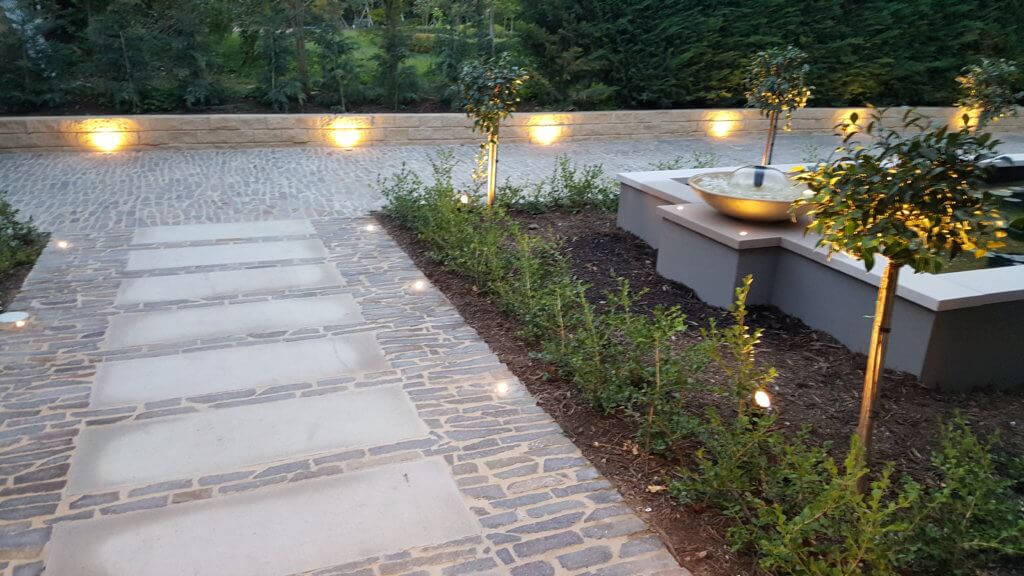
You can’t beat natural light. Light from a fire or a candle is very difficult to replicate and turning off all downlights at night is what I do at my place. I use downlights as general lighting I then turn on pendant lights and garden lights. Lighting up areas to create a unique energy to a space is what I like. This is done through lighting up features and selective areas in and around your home. I have a great example of the power of great landscape lighting designs here.
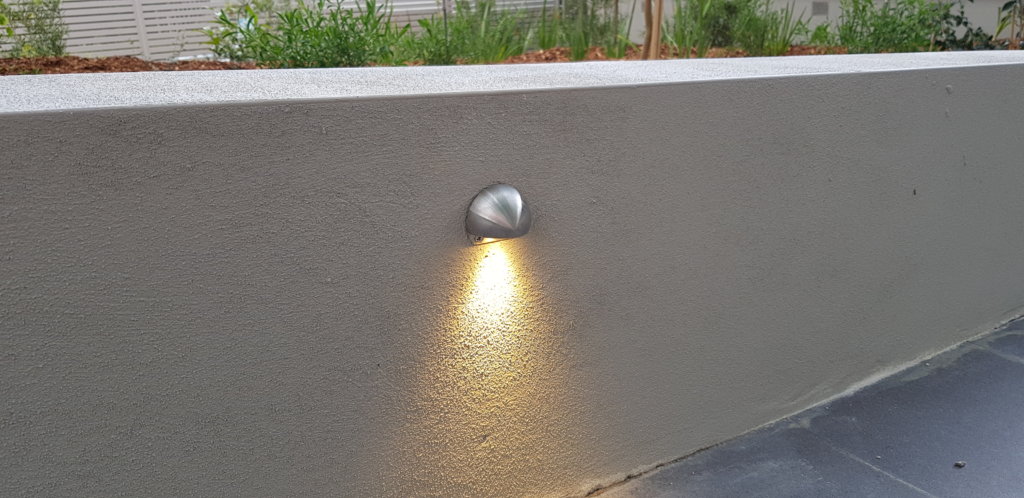
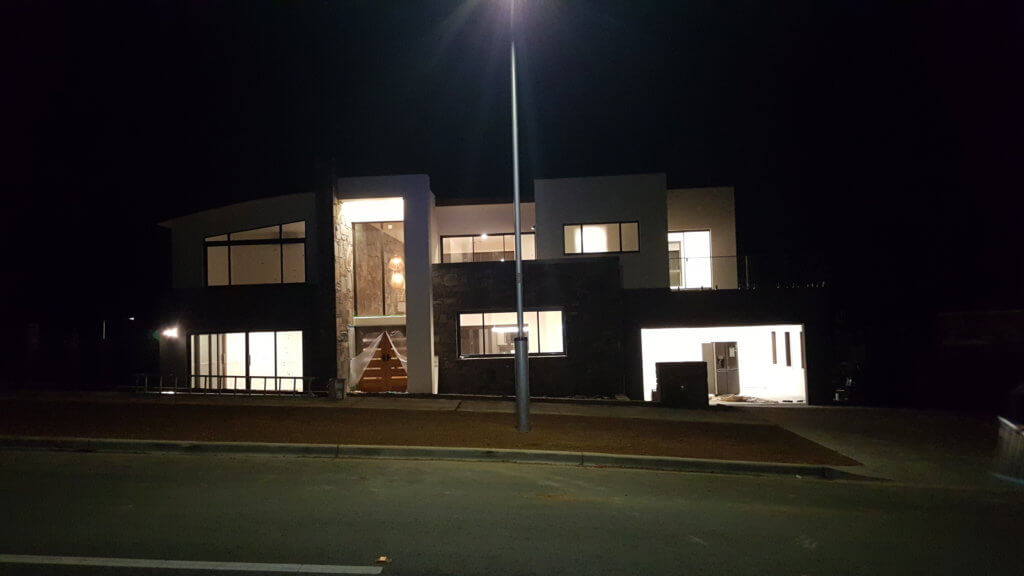
In terms of outside LED downlights we do install a lot under eaves around homes. They can be a great feature out the front that also work as general lighting. One or two downlights in the front entry wired into an infrared motion detector work extremely well when getting home late or for visitors. I also like to wire up sensors so you can turn them on at the switch. This allows you to turn the lights on at night and when turned off they revert back to sensor mode so no need to remember.


I prefer infrared light sensors as they are not affected by moving trees. The most common type I use for LED downlights specifically are 360 degree ceiling mounted. They look great and blend well into the ceiling. I use them both inside for garages or in walk in pantry. Outside ill put them out the front of the laundry or most commonly at the entry. If you want sensors for security lighting then a sensor on an adjustable arm is probably the way to go.
LED Downlights are not a fashion statement or meant to be a design feature. They are a fantastic option to get a great even spread of light through your home with the least amount of shadows. You don’t want them to stand out they are there as general lighting. You want your feature pendant lights to be the draw to the room, wall lights to add a soft glow to a space and subtle hidden lighting to highlight features. LED downlights were never a trend other than they are unbeatable in lighting up a space evenly and efficiently.
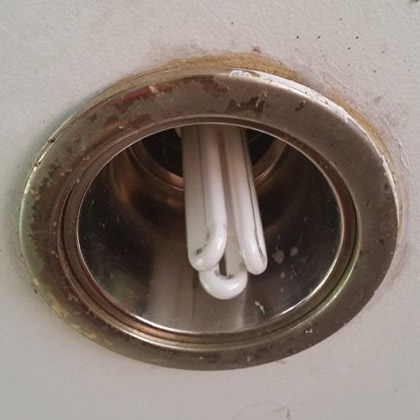
The old 50 watt halogen downlights were the absolute worst as they are not just expensive to run but completely destroy the thermal efficiency of your home. They have gaps all around them which lets all your heat escape and on top of that they let all the dust in. LED downlights have gotten to a place where they solve all of those problems and are now the best light solution for general task lighting for homes.
I should also add that LED downlight come in all different sizes. We have installed small LED downlights about 32mm in diameter all the way to 300mm and over. The most common LED downlight size we install is the standard 92mm. The next is replacing the old bunker lights that are about 120 to 150mm in size. We either use a 92mm LED downlight in a shroud to cover the hole or install a larger downlight, it depends on how much light is required as the bigger the downligh the brighter the light. In low ceilings around 2400mm the large downlights are too bright and a shroud is definitely the way to go. If you don’t like the look we also can patch and paint over the old holes and cut out new 92mm holes for a standard fitting. If lights are all scattered around the room or not lining up, patching the old holes can clean up the ceiling freshen up the whole room.
Hopefully that information is helpful in some way and gives a little insight into what you can expect if you decide to hire us for your next lighting installatio
We may not be the right electrical contractors to carry out your lighting installation and I understand I am still happy to provide any help via email or over the phone if you have any questions. My names Kieran im a local electrician here in Canberra and I have a passion for lighting. Feel free to reach out below and ill do my best to provide help where I can.
- Readers Rating
- Rated 4.8 stars
4.8 / 5 ( Reviewers) - Spectacular
- Your Rating